Helldivers are the elite soldiers tasked with defending Super Earth’s democracy across the galaxy. In Helldivers 2, they’ve gained a lethal new toy – the R-36 Eruptor explosive bolt-action rifle. This high-damage primary weapon has already made a big impact on the battlefield. But is it actually good, and what’s the optimal way to build around it? Let’s take a look.
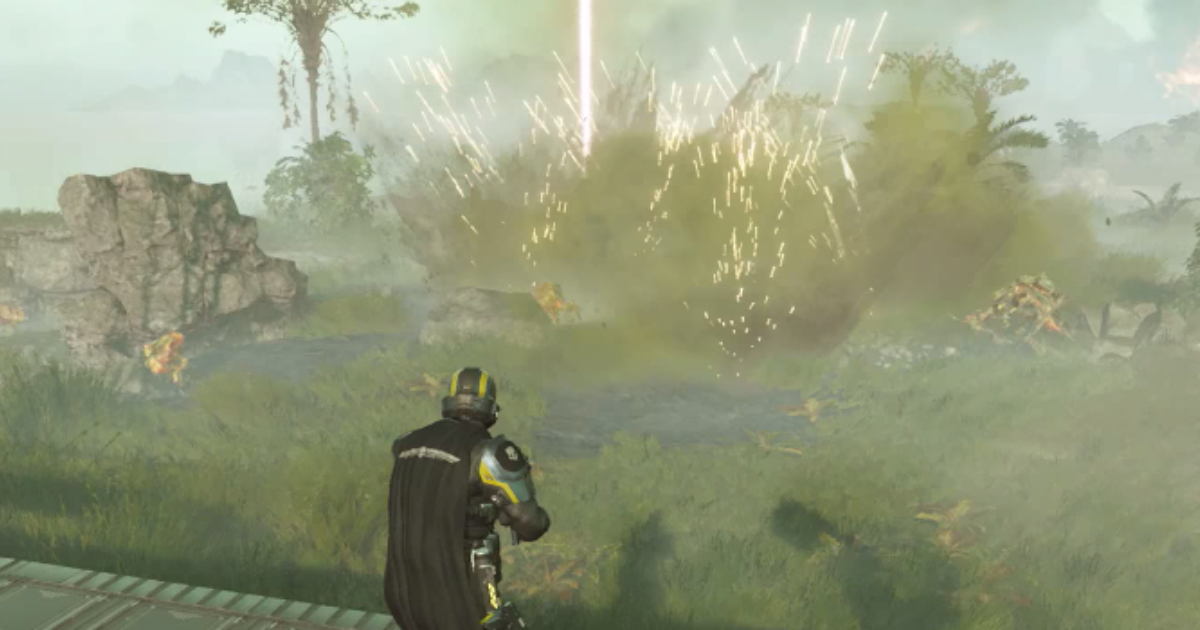
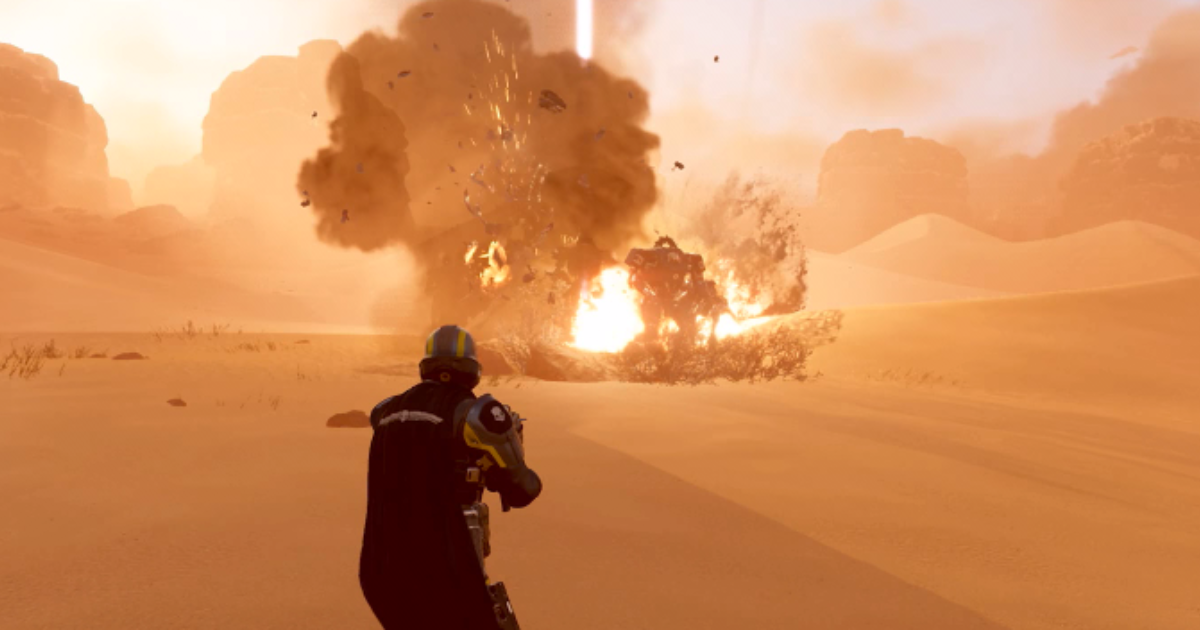
The R-36 Eruptor in Action

The standout trait of the Eruptor is right in its name – it fires explosive rounds that detonate on impact, dishing out massive splash damage in all directions. A well-placed shot can instantly gib multiple light enemies or severely wound bigger threats like Chargers. Its single-target damage is also incredibly high against armored foes.
However, the Eruptor comes with some tradeoffs. It has an agonizingly slow reload after every shot and a limited 5-round magazine. Its bolt-action firing is also quite sluggish compared to automatics. Close-quarters are brutally punishing when stuck reloading. Clearly, a full Eruptor build requires specific supplementary gear and stratagems to maximize its potential.
Primary: R-36 Eruptor
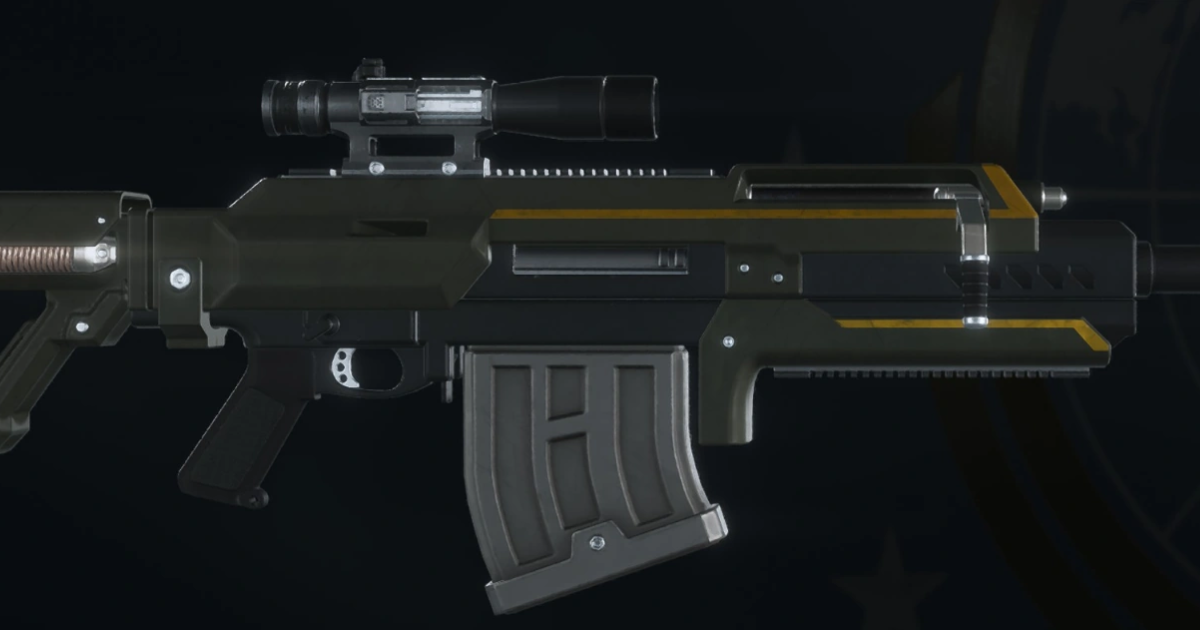
There’s no getting around it – if you want to run an Eruptor build, you have to take the R-36 as your primary. Its raw burst damage is unmatched for a main weapon slot. Just be prepared for its recoil and fastidious reloading.
Secondary: P-19 Redeemer
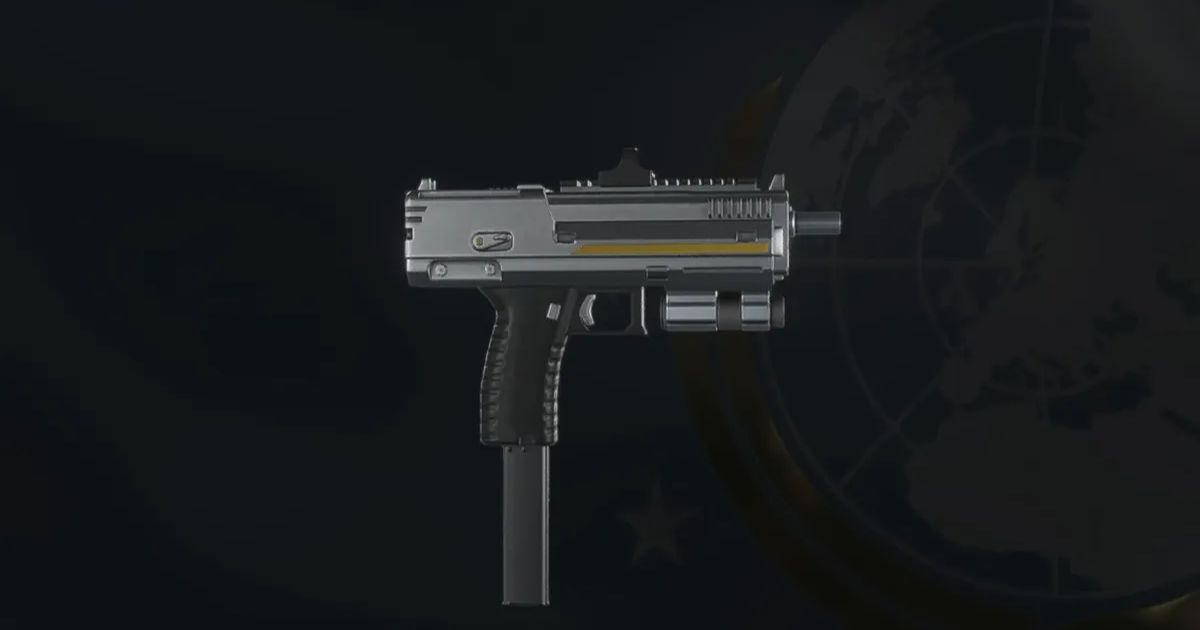
With the Eruptor lacking in close-range flexibility, you’ll want a potent sidearm to handle light enemies that get too close. The P-19 Redeemer submachine gun with its blistering 1100 RPM fire rate is the perfect pairing. It effortlessly shreds any scattered bugs or bots that slip past your explosive lead delivery.
Grenade: G-16 Impact Grenade

When it comes to grenades, you’ll want an instantly detonating option to rapidly clear tightly clustered threats. The G-16 Impact Grenade’s lack of fuse time makes it ideal for blasting apart oncoming swarms that would be ammo-inefficient to focus down with the Eruptor’s single shots.
Stratagem #1: Eagle Airstrike

As an Eruptor user, you’ll want to engage from range as much as possible to avoid close-quarters nightmares. The Eagle Airstrike is perfect for thinning out dense enemy concentrations so you can pick off the remnants. Just lob it ahead of the pack and watch the fireworks.
Stratagem #2: Orbital Airburst Strike
When you do inevitably get overrun and caught reloading, the burst damage of the Orbital Airburst Strike can be a lifesaver. It rapidly fires three bursts of shrapnel across a wide area – perfect for staggering attackers and creating an exit opportunity as you swap to your Redeemer.
Stratagem #3: Eagle 110MM Rocket Pods / AC-8 Autocannon
For your third and final stratagem slot, you have two strong options depending on the mission type. Against armor-heavy waves with lots of Hulks and Chargers, the Eagle 110MM Rocket Pods can vaporize them in one salvo. But for general-purpose anti-infantry work, the extended firing time of the AC-8 Autocannon provides incredible sustained DPS at range.
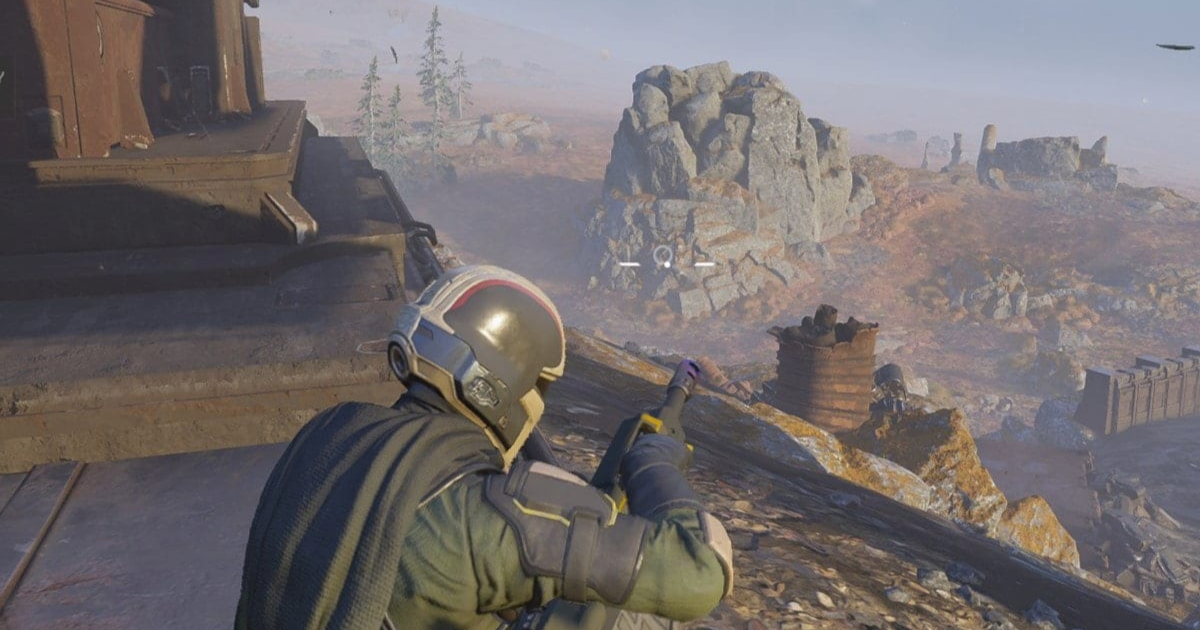
Eruptor Build Playstyle

When running this explosive Eruptor setup, positioning and target prioritization are crucial. You’ll want to hang back from the frontlines, using high-ground vantage points to rain down fire from relative safety. Keep your sights trained on clusters of enemies and time your explosive shots for maximum blast radius impact.
The Eruptor really shines at demolishing tightly packed groups, so identify choke points and let the fireworks loose when enemies bunch up. For isolated targets, the Redeemer or your stratagems are usually better suited to avoid wasting precious Eruptor ammo.
Don’t be afraid to reposition aggressively once you whittle down a major threat concentration. The Eruptor’s nature discourages passive sniping–you’ll want to create new sightlines as the tide of battle shifts, using movement tools like the Jump Pack to quickly displace.
When overwhelmed in close quarters, pop your Airburst stratagem and immediately swap to the Redeemer to shred anything it staggers. Use Impact Grenades liberally to flush out any pockets of resistance.
For tank-level threats, switch to your Eagle Rocket Pods or Autocannon stratagem as needed. The Eruptor can severely cripple big targets by focusing their vulnerable rear arcs, but your high explosive stratagems will usually be required to put them down quickly.
Is the Eruptor Good?
While certainly a powerhouse, the Eruptor has some clear shortcomings that make it more of a niche choice compared to other primaries. Its severe damage falloff up close means you’ll struggle mightily if enemies manage to get right in your face.
However, if you can play to its strengths at range with a well-rounded build and aggressive positioning, the Eruptor is utterly devastating against bug and bot hordes alike. There’s nothing quite like watching a well-placed explosive round delete an entire mob in one thunderous detonation.
The Eruptor rewards players comfortable with slower, ultra-high risk/reward gameplay. When built and played correctly, it makes you an absolute terror to enemy forces from afar. But stray too close without your supporting tools, and you’ll quickly find yourself overwhelmed and helpless. Master it, and you’ll turn battlefields into achingly beautiful shrapnel displays.
Similar posts